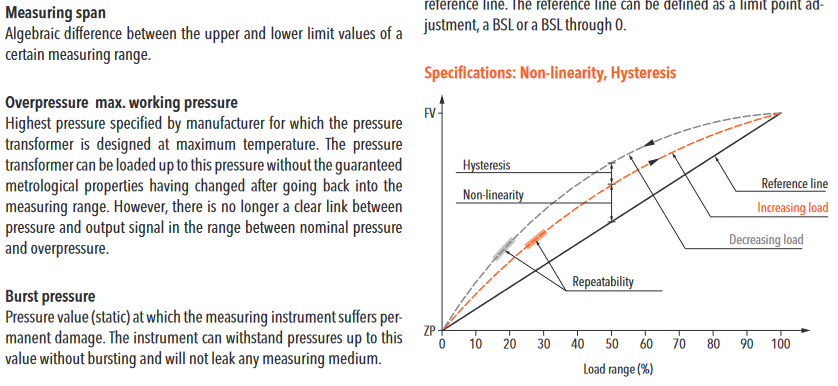
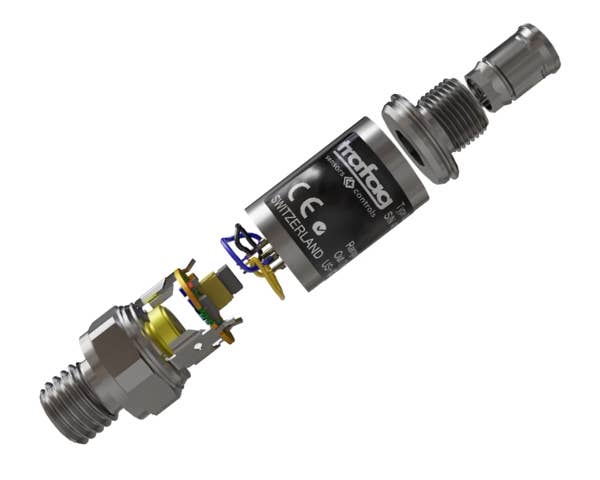
Accuracy, correctness and precision
Long-term stable pressure transmitters are a must
Data sheets from manufacturers of pressure transmitters often contain many different specifications on the subject of accuracy. In most cases, however, not all information is relevant. This article explains which information is to be taken into account and when. It also explains why long-term stable pressure transmitters are a prerequisite for cost optimization in demanding industrial applications.


Accuracy = correctness + precision
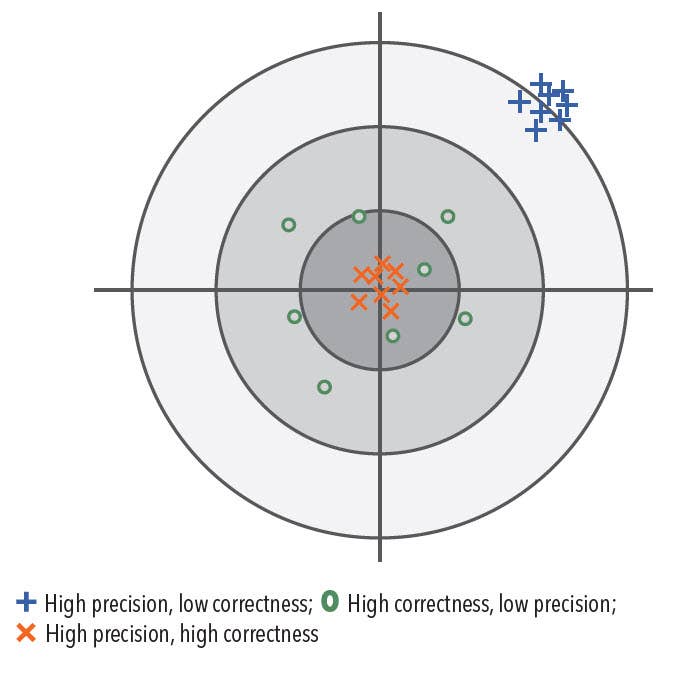
Accuracy in measurement technology consists of correctness and precision. Correctness is the approximation of the measured value to the true value, while precision essentially means the repeatability of the measurement result under identical conditions. Thus, a precise measuring instrument displays the same value for each measurement. This value can be right or wrong. Only if this value is correct is the instrument accurate. An accurate instrument must therefore be both correct and precise.
Whenever accuracy of measured values is mentioned, it is the maximum measured value deviation that is actually meant. This is expressed as a percentage of the total measuring span. This maximum permissible measured value deviation is the uncertainty to which a measured value is subject. For this reason, the term measurement uncertainty or measured value uncertainty is often used.
Temperature influences the measured value
Various external factors have an influence on the measured value. These respective causes of measurement uncertainties are then dealt with separately in data sheets. With pressure transmitters, temperature is the main factor influencing measurement accuracy along with the actual pressure measurement uncertainty. For simplicity’s sake, a base accuracy is usually established at room temperature (generally 20 – 25°C). In addition, the errors caused by higher or lower temperatures are also shown. They are typically shown as a percentage deviation per 10 K.
It is both the medium and ambient temperatures that can have a significant influence on the measured value. If only a single transmitter is used at approximately room temperature, the temperature influence can be ignored.

Measured value deviation at room temperature
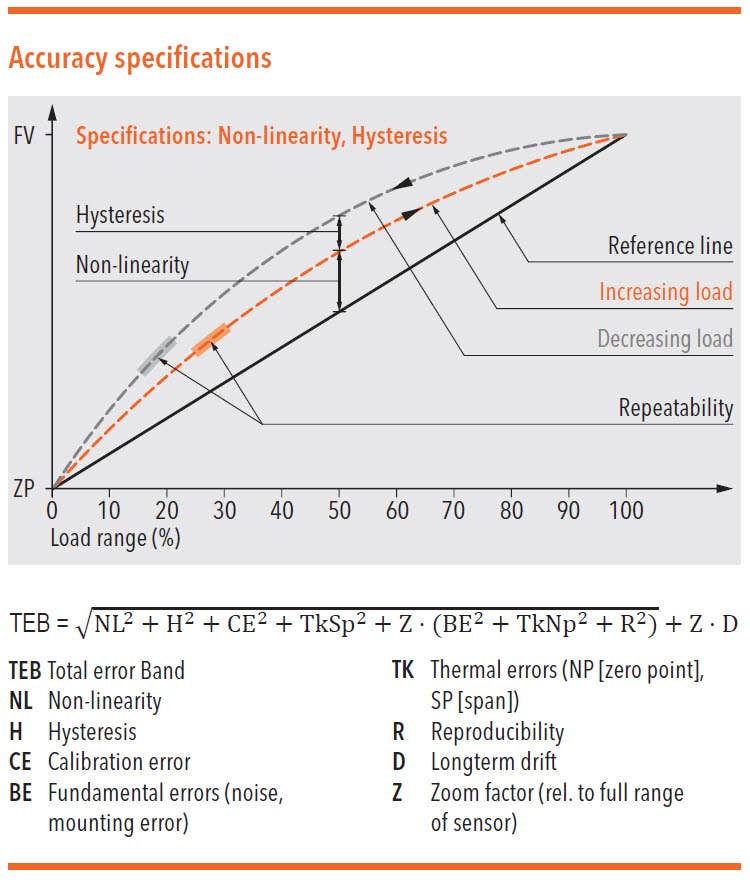
At room temperature, the most important specifications are zero point and end value deviation, as well as non-linearity and hysteresis (usually combined in one value as NLH). These deviations are summarized – not added – in the measured value deviation at room temperature (also called accuracy @25°C at Trafag).
If the measured value of the pressure transmitter in the control system is set to zero in an application before the actual operation, only the NLH is de facto relevant for the functionality of the machine. This is because zeroing eliminates the zero point error – and thus often a large part of the final value deviation – for the specific application. This is the case, for example, when a pump pressure is monitored and all measured values are set to 0 in the control system when starting up – provided that the pump pressure is always 0 bar when the system is started.
Only the NLH is decisive: for machine control by pressure changes
If the pressure change alone is required for the machine’s control system, then the NLH alone is decisive. In hydraulic control systems (or pumps), an action should be triggered at a certain deviation from the set point; for example, to switch the pump back on or to open a valve to keep the applied pressure within a closely monitored range. Thus, the effective pressure at the desired state – whether it is actually 10.0bar or 9.98bar, for example – is of secondary importance since most machines are individually adjusted to certain basic parameters during commissioning. Therefore, only the precision – that is, basically the NLH including reproducibility – plays a role. Absolute correctness is of secondary importance. In most other cases, where not only precision but also accuracy is required, both zero and full scale deviations as well as NLH are relevant. In this way, the indication of the measured value deviation at room temperature comes into effect.
Temperature influences measured value deviation: offset and hysteresis effects
Temperature-induced errors are similar: If the transmitter is set to zero after reaching a static operating temperature in the control system, or – which is much more frequent – if it is only a matter of controlling deviations from a set point under the same conditions, for example during commissioning, the temperature error of the transmitter is of secondary importance. The measured value deviation of the pressure transmitter due to the influence of temperature is also divided into offset and hysteresis effects. For non-static temperature conditions in an application, at least the hysteresis effects are always relevant. Whether or not the temperature effects of the pressure measurement have to be compensated must be taken into account when selecting the product. This is because the compensation of temperature influences in a pressure transmitter means additional production costs, which are reflected in the product price.


Measurement of the exact pressure value: total error band of interest
If the exact pressure value has to be measured in an application – for example, in load monitoring in which the acting forces are to be closed – and this also has to be done under variable temperature conditions, the total error band (TEB Total Error Band) is decisive. All individual deviations are combined here. As the total error increases with increasing deviation from the room temperature, these specifications are shown in the Trafag data sheets with reference to the end values of the compensated temperature range. On the other hand, the indication of the total error via the operating temperature curve is shown in a graphic.
Influences on long-term stability: ageing, operating environment, etc.
All specifications of the manufacturers refer to ex-works conditions. The longer a pressure transmitter is used, the greater the deviation of the measured values tends to be. This is due to ageing, material fatigue and wear. This process is very individual and depends on the application conditions, the sensor technology used and the design and quality of the transmitter as a whole. While the thin-film-on-steel technology developed by Trafag exhibits an asymptotic long-term drift behaviour that settles to a value below three times the one-year value, there are competitor products that show an almost linear, sometimes even progressive increase in measured value deviations over many years in service life tests. In particular, increased temperature manifests itself in a considerable influence on the long-term stability. For example, if a pressure transmitter with an ex-works accuracy value of 0.3% is used – even at low drift rates such as 0.1% per year – it may be unusable after four to five years.
For high-quality and expensive machines and systems, the service life and long-term stability of a pressure transmitter must be particularly high. Because an operational interruption – or even an operational failure – quickly leads to high costs. For this reason, a pressure transmitter that guarantees accuracy for years to come must be selected. Saving costs during the procurement of pressure transmitters is therefore a short-sighted strategy.
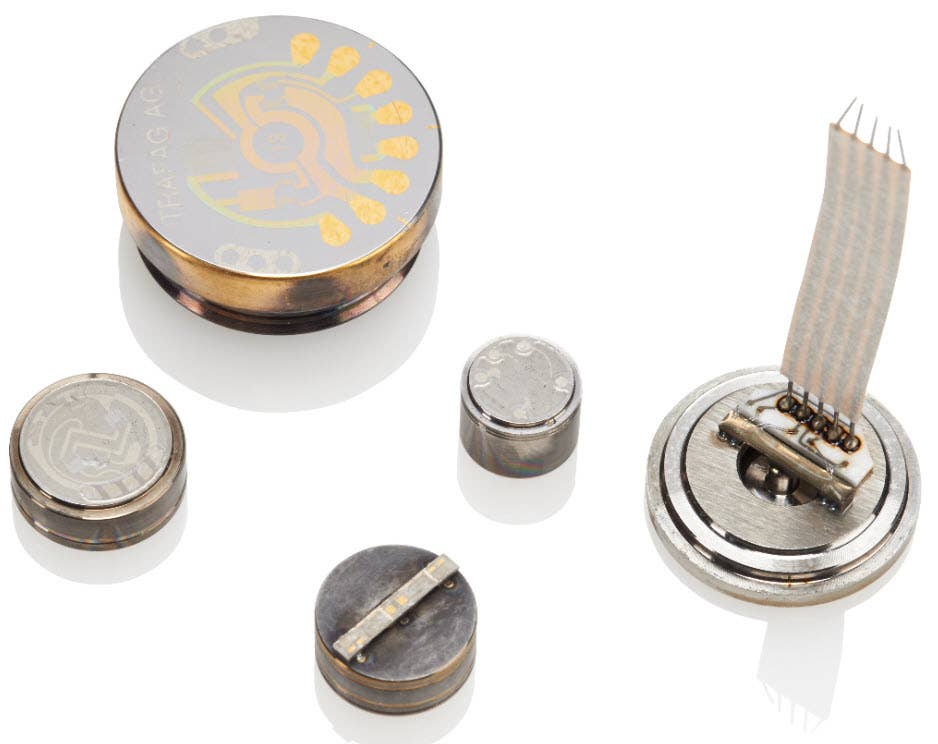
Superior Trafag thin-film on steel sensor technology
This is where the advantage of Trafag pressure transmitters comes into play: in the first year it typically shows less than 0.1% drift. Even after ten years, the measured values usually deviate by less than 0.3% from the factory settings.
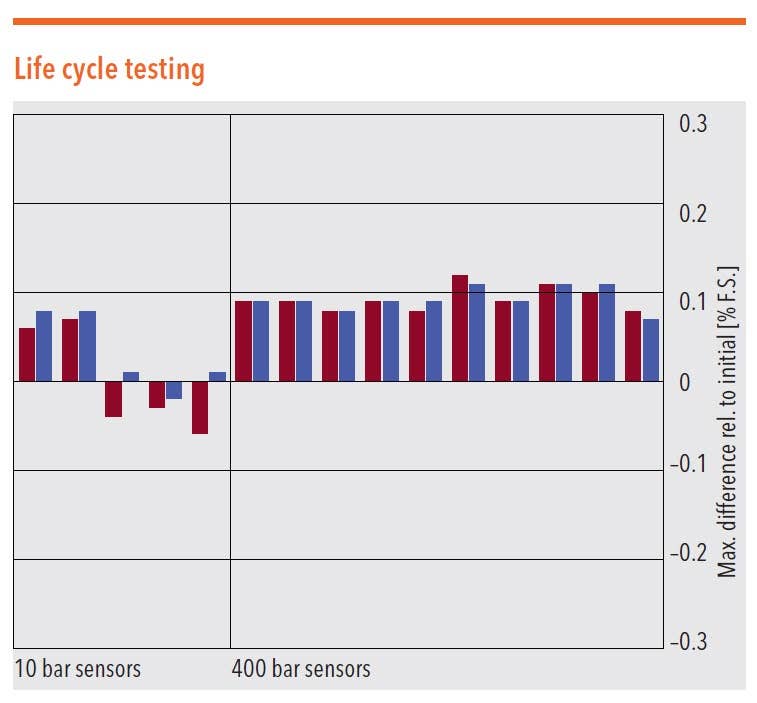
Because there are no standardized tests or test criteria, Trafag has established several forced service life tests that very efficiently identify the weak points of instruments. One of the toughest tests is the load change test, in which 20 million load cycles with at least 1.5 times the nominal pressure are run. Very few of our competitors’ pressure transmitters can offer instruments that can withstand this test without the sensor being damaged. By contrast, Trafag thin-film-on-steel sensors showed a drift of significantly less than 0.05% even after the
20 million load change test; that is, they remained practically in their original condition and were undamaged.
For manufacturers of machines and systems that are to function correctly and trouble-free for many years, it is of utmost interest that the sensors they use always function perfectly even after years of use under the toughest conditions. In industrial applications, accuracy, correctness and precision with excellent long-term stability of the measuring signal are a must.

Would you like to read the whitepaper later?
Do you have any questions about accuracy, correctness and precision?


